Powerwall 2 by Tesla – An installers view
We’ve just installed one of the first Tesla Powerwall 2 units in the country, for comic actor, presenter and renewable energy enthusiast Robert Llewellyn. We’ve blogged the entire installation process, so you can see how simple it is.
Installing the Powerwall 2
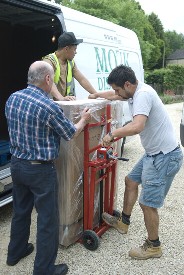
11:00am. The battery storage unit arrives ready for installation

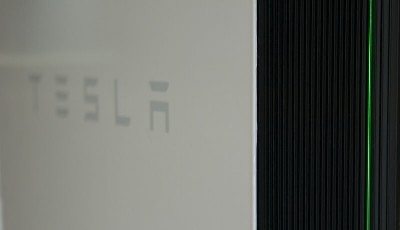
11:10 am. One very excited Robert Llewellyn opens the package. You can’t really tell from the picture here how big it is; indeed it looks like a brand new phone!

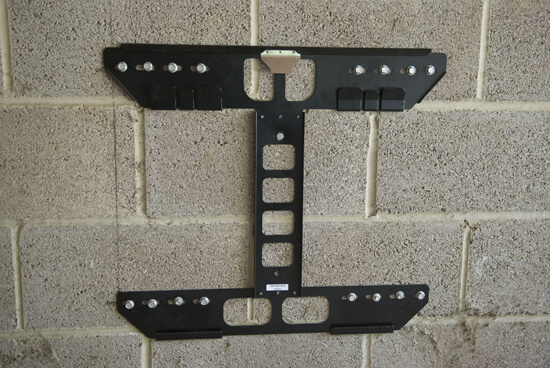
11:30am. The Powerwall 2 can be floor mounted or wall mounted. We’ve gone for the floor mounted option, but it still needs a bracket to hold it against the wall. No one wants a Powerwall 2 toppling over, especially if you are parking a Tesla model S next to it! The bracket is held in place by 16 chunky screws.

12:00 pm. The team manoeuvre the Powerwall 2 into place on the bracket. At 120kg, its quite a job to get into place. However, the team found it a marked improvement on the original Powerwall, which although beautiful, wasn’t square, didn’t have a floor mount option and was difficult to manoeuvre. By contrast Powerwall 2, sits neatly on small feet.

Wiring the Powerwall2
12:30 pm. A short break for lunch, then we’re back on the case! An hour and a half in and the battery unit is already mounted; just wiring and commissioning to go.

1:00 pm. Our electricians start the wiring of the Powerwall 2. This entails connecting the AC power between the Powerwall 2 and the consumer unit. The Powerwall 2 is also told what to do by a small additional box called the gateway. The gateway takes signals from two CT clamps inside the consumer unit. It looks at both the power generated by the solar PV and the power coming in from the grid, so it know when to charge and when (and how much) to discharge. Our electrician Simon, comments “This is so much quicker than the old Powerwall … the conection of the data cables, which can be very complicated on other battery models, is so easy with this battery storage unit. It’s so much better”. We agree – this simplification will turn what was a 2 day install for the old Powerwall into something easily less than a day for the Powerwall 2. That’s innovation at work.

3:30pm. The Powerwall 2 is installed and connected. It’s time to power on.

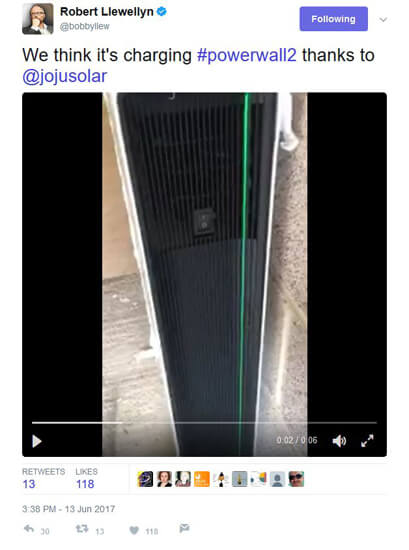
3:38pm. The Powerwall 2 goes live, as indicated by a flashing green strip light down its right hand side. One tweet from Robert to his followers, and twitter goes ballistic!

Commissioning the Powerwall2
4:00pm. The set-up of the Powerwall 2 is not quite complete yet though. It is necessary to commission the system by programming the gateway via a phone app or computer. This proved to be the most problematic part of the build, though nothing to do with the Powerwall itself. The Powerwall 2 required internet connectivity to download the latest firmware and connect to the app for monitoring. The firmware version supplied with these first units meant that the gateway had difficulty in connecting via wifi, so an ethernet cable was run to his router whilst the latest firmware downloaded, wifi connection was then established. The installation wizard confirms setup is completed with a very simple and very American “Awesome”, and the system starts to charge off the solar.
5:20pm. With the phone app now working, it’s time to test the functionality of the Powerwall 2. So, yes, we turned kettles on and off, and watched the Powerwall2 phone app go from charging to discharging. Admit it, you’d do the same too.

5:40pm. The obligatory handover pictures, and one happy customer. “Joju Solar have been patient and supportive throughout the install of my new solar array and Powerwall 2 battery system. They needed to be patient due to my constant faltering, budget anxiety and ridiculous schedule. They fitted the battery in a day, wired it up, stayed longer than expected to make sure it was all working, left the place spotlessly tidy and did a very fine job.“

6:00 pm. Our team take the trip back home and reflect on the merits of the Powerwall 2. Overall we think its easy to physically install because of the simplified connection process, and that the Tesla installation wizard makes the batteries very easy to commission.
Further Reading
- This case study on Robert Llewellyn’s Home of The Future shows more about the design of this system; how we matched high efficiency modules and the Powerwall 2 to power both Robert’s house and his electric vehicles.
- Our free guide to the Tesla Powerwall2 is available for download. Find out if its right for you.
- For fans of Tesla products, we also review their roof tile products.


Sorry, the comment form is closed at this time.