Joju Solar install solar home systems, battery storage and electric vehicle charge points. Designed and delivered by genuine experts with no hard selling.
For Home
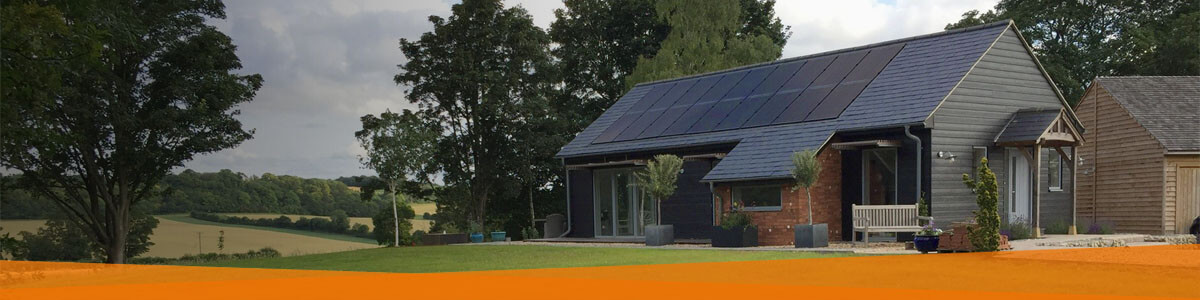
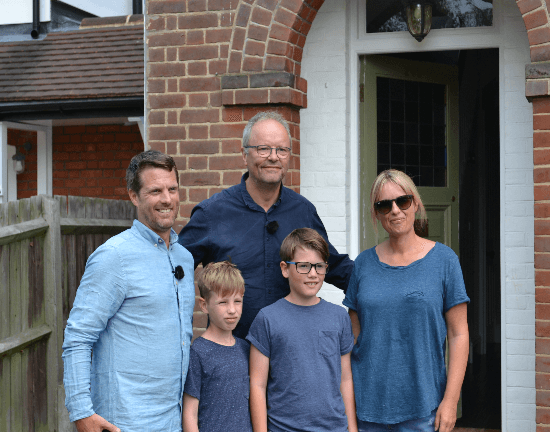
Helping Households Go Green
Joju Solar’s mission is to help households reduce their carbon emissions and their running costs by installing green technology within the home. We install solar panels, battery storage and electric vehicle charge points. These can be installed on their own, or in any combination. We can deal with any scale – from an electric vehicle home charger, right up to a full multiple technology eco-refurbishment.
Once you’ve decided to purchase a green technology option from Joju, we want to make sure you have the best possible service from start to finish.
We have built our reputation as one of the most trusted renewable energy companies in the country over many years by providing an excellent service. That means no hard selling from our end; we explain the costs and benefits of your system and let you make up your own mind.
Here’s how we work with you to deliver your green technology installation.
Reduce your carbon footprint
Lower your bills
Greater self-sufficiency
Designed by technical experts
No hard selling
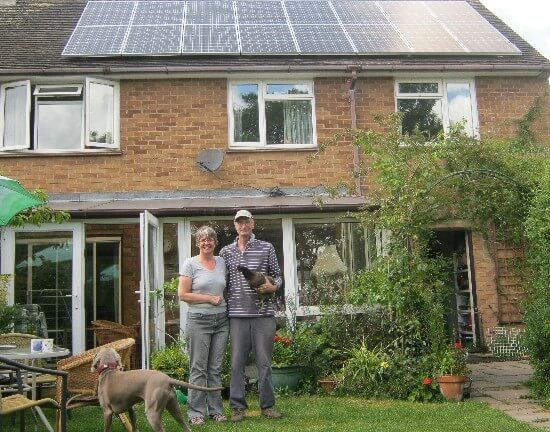
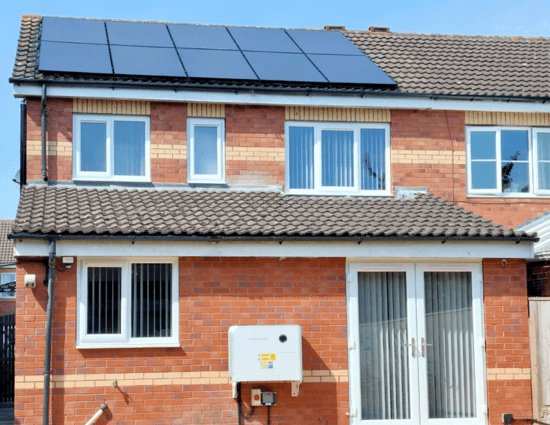
A HOME SOLAR PV SYSTEM THAT IS RIGHT FOR YOU
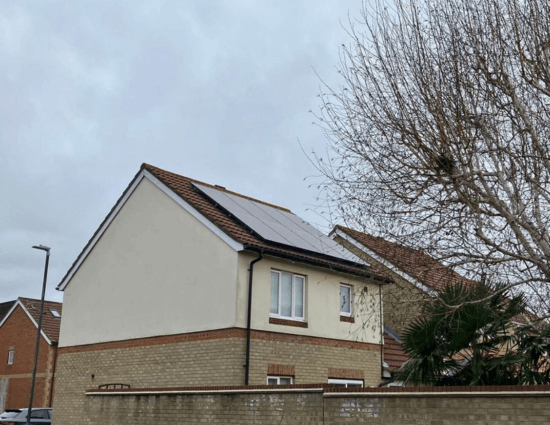
Designing a home solar panel system is both an art and a science. Our project managers are all trained in solar design, so you can be sure you are talking to an expert. Our domestic solar systems are designed solely for your house and your lifestyle. We don’t cut corners to save costs, and we won’t force inappropriate options upon you to try and make more money. That means our approach may differ from other installers – for example:
- We only use Tier 1 panels to ensure quality.
- We will specify the most suitable panels, inverters and mounting systems for your home solar installation.
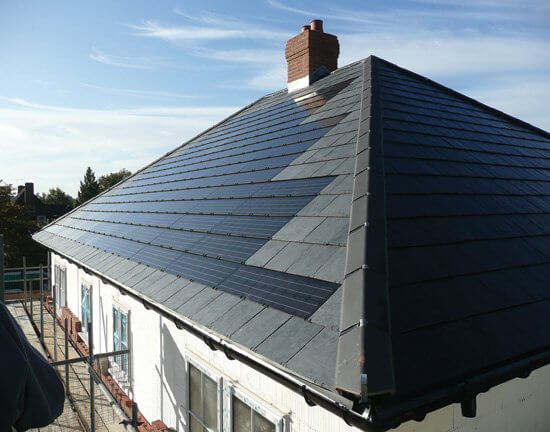
- We don’t try and squeeze in panels into every last inch of roof space, especially if it doesn’t look good
- We avoid installing panels in shaded areas wherever possible
- We acknowledge it’s not just the energy generated, but that the appearance of your home is important too
Almost uniquely within the solar industry, we do not employ salespeople. The project manager you work with, and who surveys your property will be a fully trained solar designer, and a real expert in PV and battery technology. That means you can ask any question you like and we’ll be able to give you a straight answer.

Before You Buy
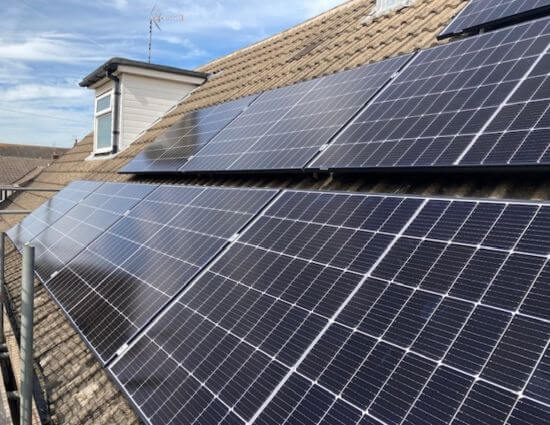
Learn more about solar panels for your home. We have a range of products to suit every need, and every possible roof type.

Solar and Storage Contractor of the Year
Multi-Award winning Installers of Solar PV, Battery Storage, and EV Charge Points

EV Charge Point Contractor of the Year

SOLAR BATTERY STORAGE SOLUTIONS FOR HOMES
Designing battery storage is technically complex, and so we design every home battery storage system as a bespoke design. The reason is simple – buy a battery that is too small, and it will run out before you expect it to. That’s not good. Buy a battery that’s too large, and you’ll have bought an item of green technology that you won’t be fully using. That’s not good either.
For that reason, we strongly advise against buying ‘off-the-shelf’ solar and battery kits which have preset component sizes. You may well have seen ads for these all over social media. They don’t consider how you live your life, or what you want to achieve with a domestic battery system.
Our engineers will design battery systems that are sized to your needs. And it goes without saying – batteries are an optional purchase. We’ll never push you towards a battery purchase where it’s not giving you the benefits you want.

Before You Buy
Learn more about incorporating battery storage into your home. We have a range of options for becoming more self-sufficient, riding through powercuts, and storing power to use in an electric car.

Solar and Battery Installation Process
1. Enquire here
Let us know what you’d like to achieve, and any preferences for location, panels, mounting and batteries
2. Remote Scoping
We design your system on Google Earth and price up the system for you
–
3. Survey
If you are keen, we’ll come and do a full site survey. Or, post-COVID, you can now do your own survey
4. Permits
If needed, we’ll submit all grid connection applications on your behalf
5. Installation
We’ll book in the scaffolders and our installation teams for your project. Then we build it!
6. Handover & Commissioning
We’ll make sure your system is working, and explain to you how to use it. Plus all the paperwork, of course
Request a quote for your bespoke designed home energy system
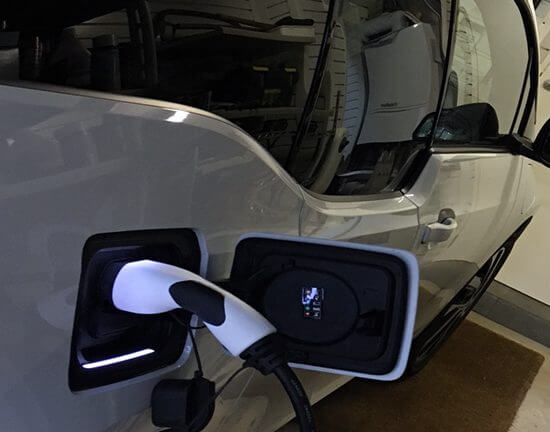
HOME EV CHARGERS
Good home electric car charging point design is simple. You put the right charger, with the right functionality, in the right location, and install it neatly and cleanly. It’s a pretty simple checklist, but getting any one of them wrong can severely impact the user experience. That’s why careful design and project management is needed. To be done well, it’s a little more involved than slapping a home car charging point on the wall.
I’m sure you’re more excited about your new electric car than your home car charger, but you can’t have one without the other! That’s why we want to make the charge point installation process as simple as possible. Simply choose your desired charge point from our brochure, and then complete the home self-survey form. We just need a few photos, of your desired charge point location, and your fuse board (to check the electrics are all OK). It’s all pretty simple, and much better easier and cheaper than taking a day off work to wait for a surveyor.
Grants are available for home electric car charging points, but the paperwork is a little bit fiddly. We handhold you through the application process to make a claim easier. And you don’t have to pay full price, and wait to get reimbursed – you just pay us the difference.

Before You Buy
Learn more about different types of EV charger for your home. We install the Zappi EV charger, which allows you to run your car on electricity from your solar roof.
1. Enquire here
Click the link below to go to our Home EV Charger enquiry page
2. Pricing
We’ll send you our pricing brochure, and a text message link to the survey form
–
3. Survey
Fill out the self survey form and photos on your mobile phone
4. Confirmation
We’ll confirm pricing with you. 95% of the time it is just our standard pricing, but occasionally some extra work is needed
5. Installation
We’ll book in the electrician for your project on a convenient date for you. The installation itself should take 1/2 day
6. Handover
We’ll make sure your charger is working, and explain to you how to use it. We manage the OLEV grants on your behalf
Order your home EV charger today
HOME INSTALLATION AFTERCARE, SERVICING & MAINTENANCE
Green technology installations can last for many decades, and we want to support you for the entire lifetime of the system. We don’t want to operate on a fit-and-forget basis, so we have several types of support packages offered by our O&M team.
Green technology installations come with product warranties of up to 25 years, so if an issue is observed with your system, we can replace the faulty product. Furthermore, all of our installations are covered by workmanship warranties, so we will always come back and fix any mistakes that may have occurred during installation.
The key to this is to understand whether, or when, there might be a fault. We, therefore, offer a full range of monitoring systems to allow you to keep an eye on the operation of your system
We also offer a reactive maintenance service, should you need to call us out to fix anything. And if you’d like greater peace of mind, we can also provide annual maintenance checks for you.

Post-installation care
Find out how we help you look after your green technology installation once it’s installed. We want them to give you many years of service (and pleasure).


FREE GUIDE
Download this guide to see the ten things you need to know before buying solar panels:
